How To Put A Dog Harness On: Step By Step
On Jul 09, 2025

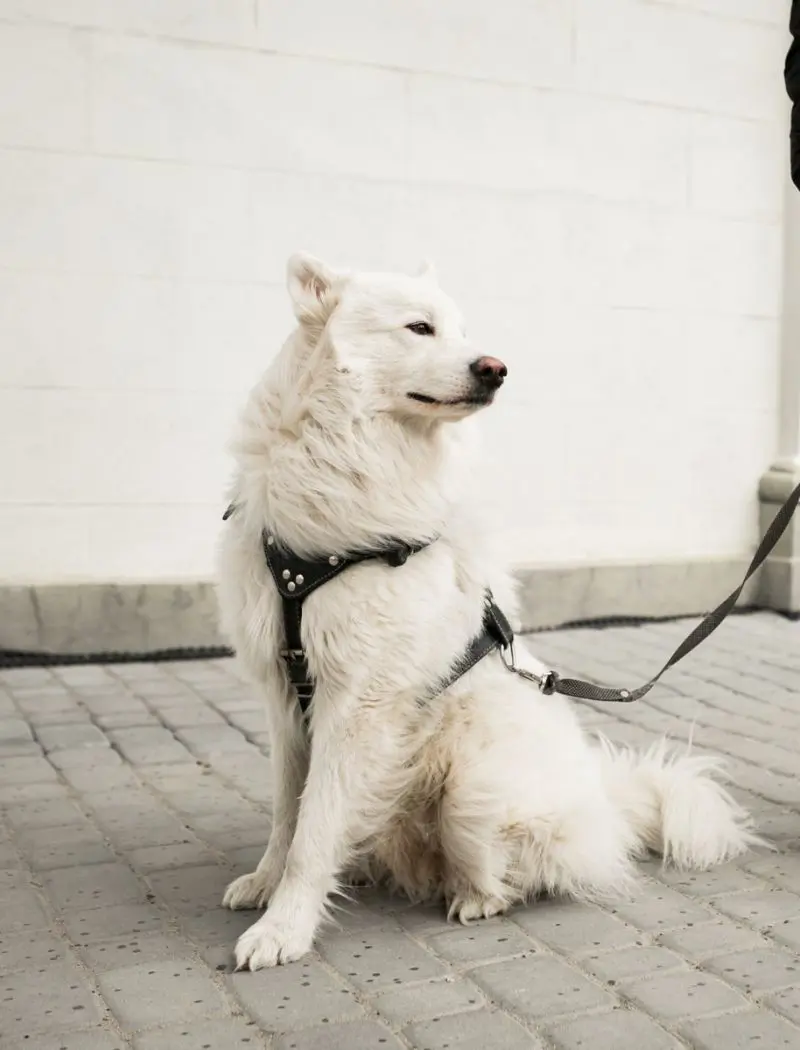
A dog harness is a popular and safe alternative to a neckband that is designed to distribute pressure more equally across the structure while walking or running. They are worn around the chest and torso, making them a comfortable option for many dogs.
There are several types of leashes found that are designed for specific needs. This article discusses various types of harnesses and how you can make your dog wear one.
1. Step-In Harness
The step-in harness is designed for convenience and pleasure and gets its name because the dog needs to move into it with their front legs. It consists of a V-shaped strap that wraps around the dog's upper body, with a secure closure that fastens on the back.
This is especially beneficial for dogs that are easily frightened or uncomfortable with overhead harnesses. The harness usually features adjustable straps to ensure a tight fit, and the leash attachment is located on the back for casual walks.
Step-by-step Guide
- Prepare the Harness: Lay the harness flat on the floor with the straps facing upward by ensuring it is not twisted and the leash attachment ring is positioned on the back of the harness.
- Encourage Your Dog to Step In: Position your dog over the harness and gently guide them to step into the harness by placing their front paws through the opening on either side. The harness should form a V shape with the straps positioned over the chest and under the belly.
- Adjust the Straps: Lift the harness up once their legs are through so that it sits properly on their chest and back. Make sure that the straps are not curled and the harness is centered.
- Fasten the Harness: Secure the harness by fastening the adjustable buckle or hook on the back or the belly and make sure it is snug but not tight. You should be able to fit two fingers between the strap and your dog's body.
- Check the Fit: Test the fit as it should be comfortable enough that it stays put but not so pressed that it limits motion.
- Attach the Leash: Fasten the leash to the hook once the harness is set and make sure it is tightly fixed before you begin walking.
2. Overhead Harness
An overhead harness is made to fit over your dog's head and around the upper body. It is popular for its simplicity and ease of use, making it a good choice for many dogs. The design consists of straps that go over the head and circle the body with fasteners on the side or back to secure it.
They are usually preferred for smaller or medium dogs as they can provide better control and even pressure distribution across the chest. It is important to choose the right size and ensure the harness is not too tight, especially around the neck area.
Step-by-step Guide
- Arrange the Harness: Lay the harness flat with straps arranged correctly and the leash attachment ring positioned at the back with no twists.
- Position your Dog: Have your dog stand or sit in front of you, making sure they are calm and ready for you to put on the harness.
- Slide the Harness: Place the harness over your dog's head by ensuring the straps go across their chest and neck. The strap with the leash attachment ring should be on the dog's back.
- Fasten the Harness: Secure it by fastening the clasps or clips around the body as most of them have flexible straps that you can modify.
- Adjust the Fit: Check to make sure the harness fits comfortably around the dog's body as you should be able to fit two fingers between the straps and their skin. Adjust the straps as required to ensure they are okay.
- Attach the Leash: Attach the leash to the ring once the harness is set and make sure it is tightly fixed.
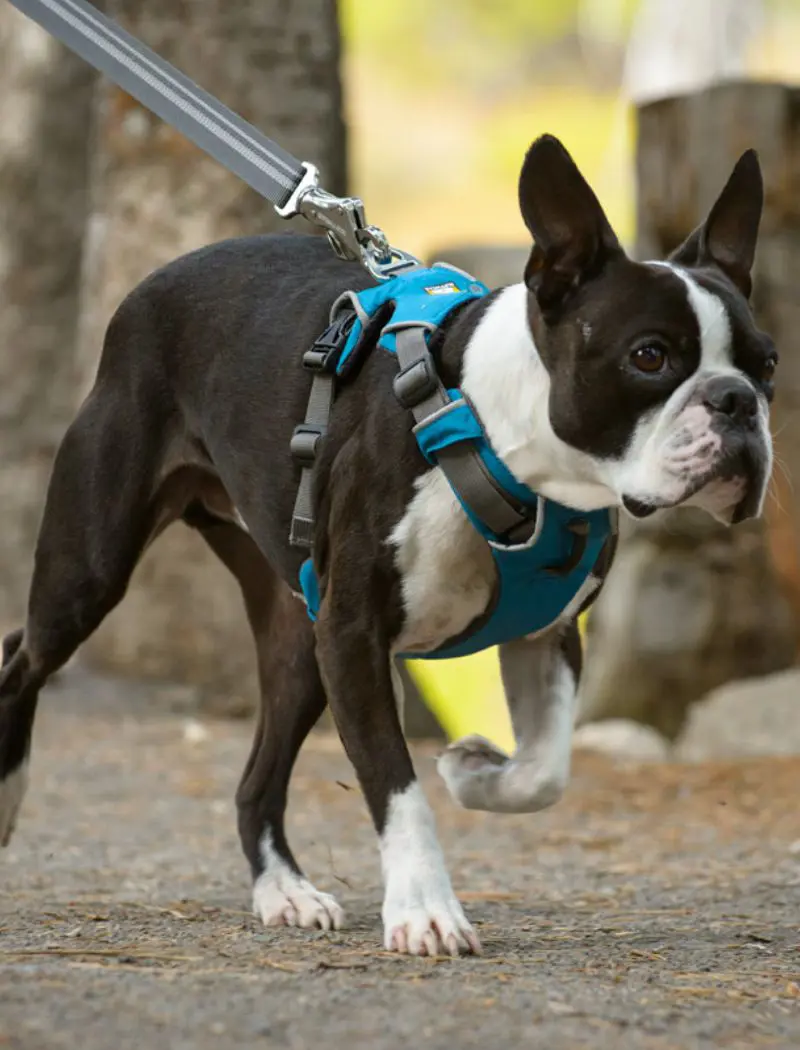
3. Back-Clip Harness
It is one of the renowned types of dog vests that are designed with an attachment point located on the dog's back, usually between the shoulder blades. The design allows for a simple, convenient harness that is best for walks and dogs that are mannered with a strap.
The design of the harness also helps to distribute pressure evenly across the torso, reducing stress on the throat. Back-clip harnesses are also easy to put on and adjust as they don't require much handling of the dog's legs.
Step-by-step Guide
- Prepare the Harness: Lay the harness flat with the leash attachment ring on the back positioned correctly in the center.
- Position Your Dog: Have your dog stand or sit calmly in front of you by ensuring they are comfortable and ready for you to put on the harness
- Slide the Harness Over: Gently place the harness over your dog's head, ensuring that the leash attachment ring is on their back. The straps should sit around the neck and chest area.
- Position the Body Straps: Pull the body straps down around your dog's torso. One strap should go around the chest and the other should circle the ribs, ensuring the harness is properly aligned.
- Fasten the Harness: Secure the straps by clipping the snaps or clips to ensure a snug. Tighten the straps and leave enough room to slide two fingers between the harness and the body.
- Adjust the Fit: Check that the harness is sitting easily and ensure the straps can stay put and do not cause unease.
- Attach the Leash: Fix the leash to the ring on the back of the harness and make sure that it is properly connected.
4. Front-Clip Harness
A front-clip harness is a great option for dog parents who need extra help with leash training. The leash attaches at the front and makes it easier to manage dogs that tend to pull. This harness is helpful for training purposes and works well for dogs that are still learning to walk nicely on a leash.
It distributes pressure across the dog's chest making it a more humane option and is beneficial for those prone to respiratory issues or those with neck sensitivities. The front-clip harness is a reliable tool for improving leash behavior and ensuring safe and enjoyable walks.
Step-by-step Guide
- Get the Harness Ready: Spread the harness flat, locate the front clip, and make sure it is ready to go with no tangles.
- Calm Your Dog: Gently bring your dog to you and have them sit or stand still. A treat or some petting can also help them relax.
- Slide It On: Put the harness over your dog's head by making sure that the front clip is resting on their chest while the rest goes across their shoulders and back.
- Fasten Around the Body: Pull the straps under your dog's belly and clip each part.
- Adjust For Comfort: Adjust the straps to ensure the harness fits correctly as it should be tight enough to stay fixed but not so tight that it restricts actions or causes unease.
- Clip the Leash: Clip the leash to the attachment ring on the front of the harness, located at the chest, and that it is securely fastened.
- Check for Comfort and Functionality: Let your dog move around for a moment to ensure the harness stays in place and doesn’t shift. Observe how the front clip redirects their movement if they try to pull.
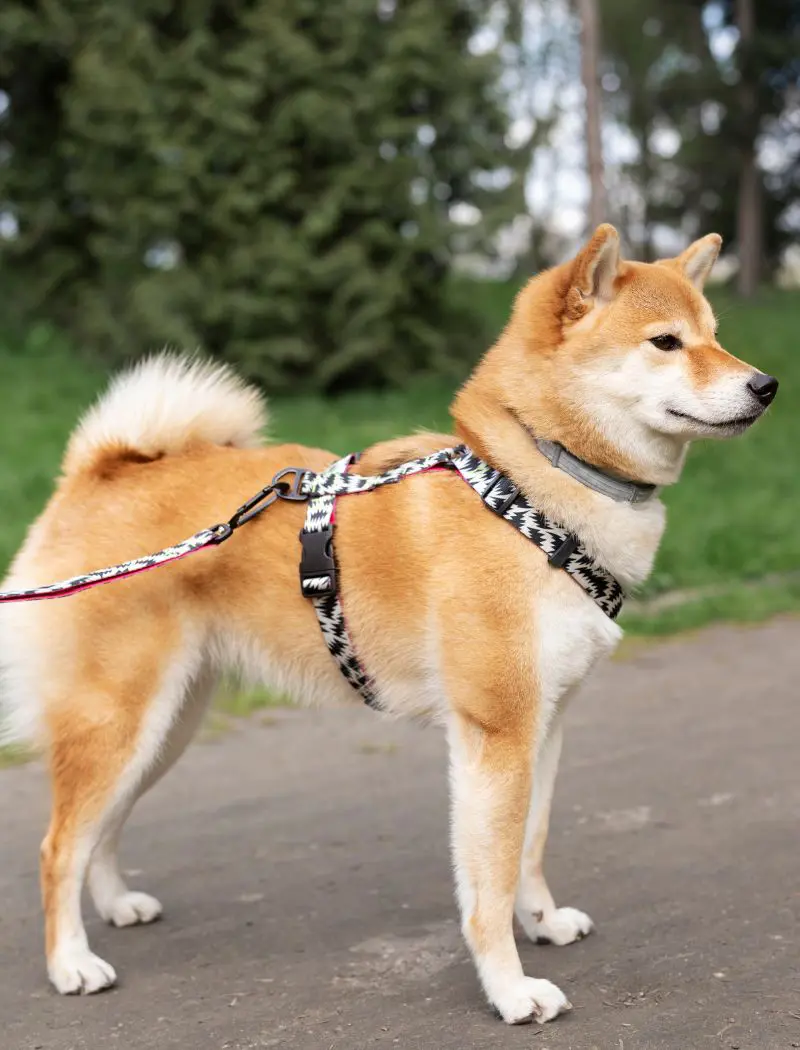
5. Dual-Clip Harness
A dual-clip harness is a versatile and practical option that features a front and back clip for leash attachment. This design provides flexibility, allowing you to choose the leash placement based on your dog's walking behavior or specific needs.
The back clip is ideal for casual walks or for those that are well-trained and don't pull as it offers comfort, making it suitable for everyday outings. The front clip helps manage dogs that pull on the leash by guiding them back, which makes it a great tool.
Step-by-step Guide
- Set Up the Harness: Lay the harness flat and locate both the front clip and the back clip by making sure the straps are not twisted.
- Prepare Your Dog: Relax your dog and have them stand or sit calmly in front of you.
- Ease the Harness On: Gently place the harness over your dog's head by positioning the back slip on their back and the front clip on their chest.
- Wrap and Buckle the Straps: Pull the straps under the belly and around the torso, and secure the clips on each side by making sure they click into place.
- Modify the Fit: Tighten or loosen the straps as needed as it should fit snugly but not too firmly. You should be able to slide two fingers between the harness and your dog's body.
- Choose the Clip Location: Decide which clip to use based on your walk as the back clip should be used for casual walks or if your dog does not pull. Use the front clip if you need more control or want to discourage pulling behavior.
- Attach the Leash: Connect the leash to the chosen clip and ensure it is securely attached to avoid accidental detachment.
6. Vest Harness
A vest harness offers more coverage and support compared to traditional harnesses, making it a great option for dogs that need extra comfort or control. It is especially helpful for those with sensitive necks or prone to pulling, as it evenly distributes pressure across the chest and back.
Most vest harnesses are made with soft materials that ensure your dog remains comfortable during walks or other activities. The design usually includes adjustable straps, allowing for a customized fit that suits various dogs and sizes.
Step-by-step Guide
- Lay Out the Harness: Lay the vest harness flat and ensure all straps and buckles are untangled. Locate the leash attachment point, typically on the back or chest.
- Comfort and Place Your Dog: Bring your dog to a steady position by making them stand or sit. Keep them calm with a treat or gentle reassurance.
- Open the Harness: Undo any buckles or Velcro straps to open the vest harness and ensure the inside padding is facing toward your dog for maximum comfort.
- Place the Harness: Gently drape the harness over your dog's back or chest, depending on its design. The larger portion of the vest should cover the torso with straps wrapping around the body.
- Secure the Straps: Wrap the belly and chest straps under your dog and fasten them using the buckles or velcro.
- Adjust for Comfort: Check the fit by adjusting the straps as the harness should fit comfortably without being too tight.
- Attach the Leash: Clip the leash to the designated attachment point, usually on the back of the harness, and double-check if it is attached properly.
7. No-Pull Harness
This harness helps to manage and reduce pulling behavior in dogs during walks as it features a front-clip attachment point on the chest. The design gently redirects their movements toward you when they try to pull and discourages the pulling habit.
It is a safer option as it distributes pressure across the chest and avoids strain on the neck. A no-pull harness is also a great choice for training as it encourages better leash manners while providing more control to the owner.
Step-by-step Guide
- Organize the Harness: Spread the harness flat and check for twists. Locate the front clip, which is usually positioned on the chest and all the buckles are unfastened.
- Ease and Get Your Dog Ready: Encourage your dog to stay calm by having them in a sit or stand position.
- Position the Harness: Position the harness over your dog's head by ensuring the front clip sits on their chest and the back portion rests between their upper back.
- Secure the Straps: Wrap the straps under your dog's belly and around their chest. Fasten the buckles securely on both sides, making sure they click into place.
- Adjust for Comfort: Use the adjustable straps to ensure the harness fits right without being too tight.
- Attach the Leash: Clip the leash to the front attachment point on the chest, a key to the no-pull design as it helps redirect pulling behavior.
- Test the Fit: Allow your dog to walk around briefly and check that the harness stays in place without causing any rubbing or discomfort.
Recent posts
Dogs
What Are Dogs Afraid Of? 10 Common Dog Fears And Phobias
Becoming a dog owner comes with certain responsibilities, including identifying their fears and phobias. From an unpleasant sound to an unfamiliar scent, many factors can trigger a fear response. Understanding a dog's psychology can be complicated; a...

15 Webbed Feet Dogs Breeds That Can Swim
Dogs often become excited when they are near a water body like a pool, river, or beach. Unlike cats, canines are not wary of water and are usually seen enjoying their swims at their nearby water hole. However, enthusiasm alone doesn't dictate a dog's...
20 Fun Activities For Dogs During Winter
Winter can be a great time to embrace the chilly season with creative activities that keep your furry friend happy and entertained. They provide a perfect opportunity to explore unique ways to bond with your dog. From snowy outdoor experiences to coz...
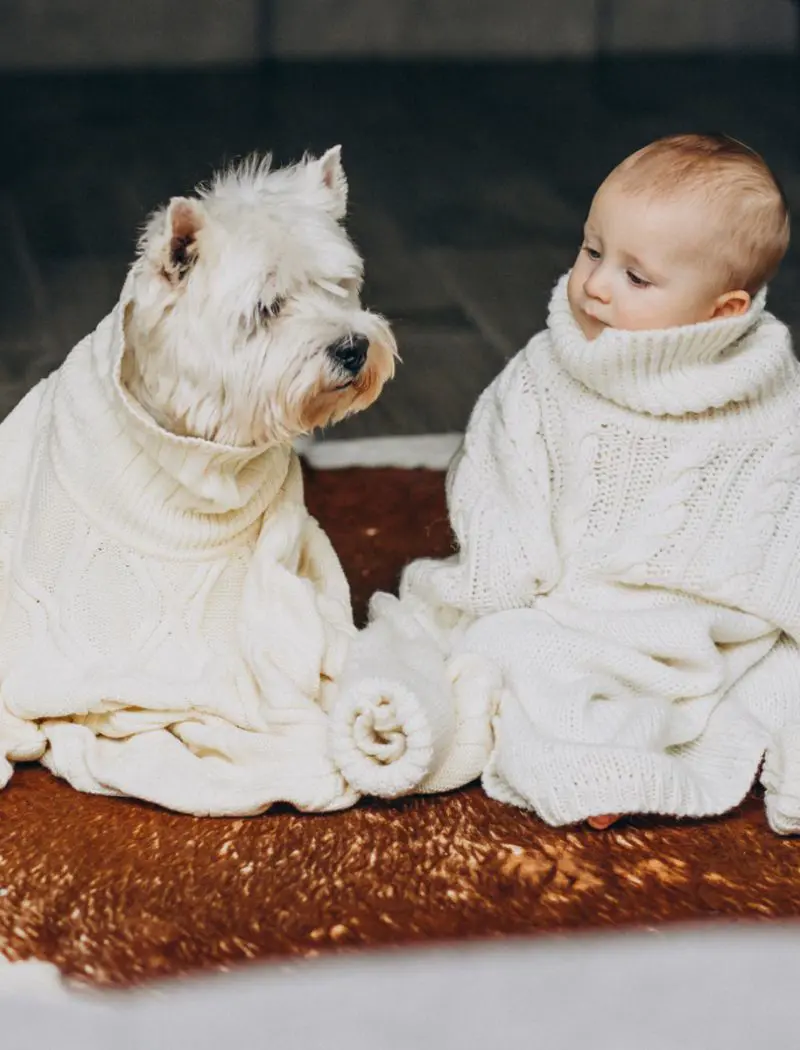
How To Introduce Baby To Dog: A Step By Step Guide
Adding a new baby to your home is exciting, but it can also be a big change for your dog. A dog's natural curiosity involves a patient, prepared, and considerate introduction to a newborn baby. A smooth transition is important for the safety of your ...
Do Dogs Cry? What Does Their Tears Mean
Dogs are known to shed tears as a way to lubricate their eyes and not because of sadness or emotional pain like humans. Tears in dogs may indicate medical issues like eye infections or blocked tear ducts that may cause discomfort to them. It is very ...

20 Haircut For Pomeranian Dog Breed
Pomeranians along with their lively personalities are also well known for their luxurious and dense fur. They are attractive, charming, and confident dog species that require proper care for their fur. There are several grooming styles for these dogs...