Cleaning a fish tank is not as easy as it looks, and it is certainly not cheap. A professional fish tank cleaner can cost between $50 to $100 for a single visit, while others may charge you depending on the size of your tank ($0.75-$1 per gallon).
But, with careful planning and a few hours of work, you can save your valuable hard-earned money. Today, we discuss a comprehensive guide on cleaning a fish tank without the need to remove the fish.
1. Gather Your Supplies
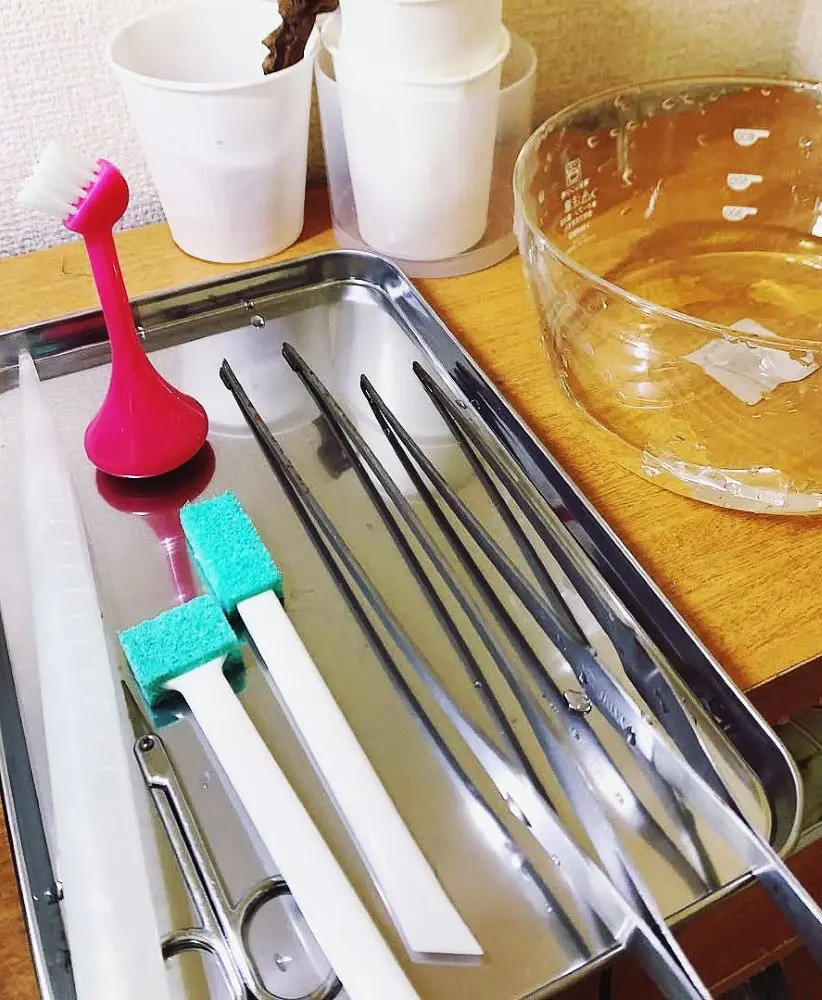
The first step in cleaning a fish tank is gathering the tools you'll require. Normally, the items you need are readily available in your home, minus a few tools uniquely designed for cleaning a fish tank.
Algae Scraper or Scrubber
An algae scraper is used to remove algae buildup which can block light penetration in the tank. Simply, run it along the glass or acrylic walls in even strokes, but be gentle enough to avoid scratching the surface.
Excessive algae growth doesn't just spoil a tank's appearance, it can also disturb the tank's ecosystem. For easy operation, consider using magnetic algae, especially if you have a large tank. For stubborn algae or smaller tanks, handheld scrubbing pads or blade scrapers are best as they offer better accuracy.
Gravel Vacuum
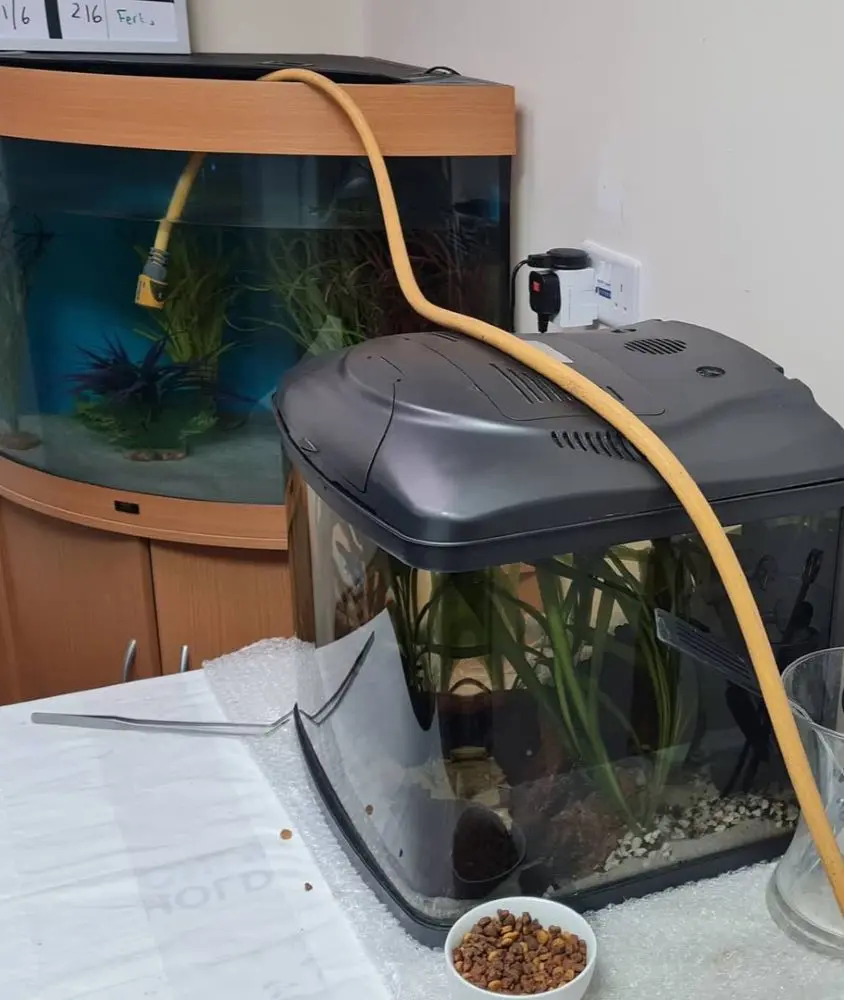
Also known as an aquarium siphon, This tool serves a dual function: it can clean the substrate and perform partial water changes. While undertaking a tank cleaning project without getting the fish out, the gravel vacuum becomes a non-replaceable piece of equipment.
The vacuum is generally lowered to the bottom of the tank where it acts sucks the dirt and debris stuck to the gravel. As this tool can also accidentally pull fish, make sure that your tank residents are not actively swimming near the suction.
Aquarium-safe Sponge
Normal household sponges can contain chemicals, detergents, or antibacterial agents, that can be harmful to fish and aquatic plants. Only purchase aquarium-safe sponges, these are non-toxic, free of harmful residues, and designed to prevent scratching the surfaces of the tank. Often labeled as aquarium cleaning sponges, these products come in various sizes to suit different tank dimensions.
For cleaning glass aquariums, a rougher sponge is effective in removing stubborn algae buildup. However, for acrylic tanks, look for softer sponges to prevent scratches.
Bucket
During routine maintenance, a portion of the aquarium water must be removed to eliminate waste and debris. A clean bucket ensures that the old water is safely removed without introducing contaminants, such as soap or chemicals, back into the tank.
The bucket is also useful for temporarily holding decorations or equipment, such as filters, heaters, or plants, while you clean the tank. By placing these items in aquarium water inside the bucket, you prevent drying out or damage to beneficial bacteria that help maintain water quality.
Water Conditioner
If you are cleaning a fish tank without removing the fish, that's where the dechlorinating water conditioner comes in handy. These conditioners remove harmful chemicals like chlorine and chloramine, which are often found in tap water. As these chemicals can damage the gills of fish, always use a conditioner when adding fresh water.
Additionally, you can also look for a water conditioner that not only dechlorinates but also detoxifies heavy metals and neutralizes ammonia and nitrite. Carefully follow the dosage instructions to treat the new water before adding it to the tank.
Cleaning Solution
You may be tempted to use traditional cleaning solutions to save a few dollars; however, it can become costly in the long run if your fish reacts negatively. Instead, use aquarium-safe cleaning products designed for fish tanks; these products are non-toxic and free of harsh chemicals.
For cleaning algae from the glass or decorations, buy algae scrapers or sponges made for aquariums. These tools do not require any chemical solutions and rely on physical scrubbing to remove buildup. If algae persist, you can use liquid algae removers that are fish-safe, such as those by API or Seachem.
Test Kits
The tank cleaning job is certainly not completed until the water is deemed safe for your pets. And, for this task, you'll require a variety of test kits that check the different chemical levels, including ammonia, nitrite, nitrate, and pH levels.
An ammonia test kit is vital in detecting the presence of ammonia, produced from fish waste and uneaten food. Elevated ammonia levels are extremely toxic, even harming fish gills. Similarly, a nitrite test kit measures the second stage of the nitrogen cycle. Nitrite is also toxic, and its presence indicates that the tank's beneficial bacteria are not fully breaking down waste into less harmful substances.
A nitrate test kit helps to keep the nitrate levels safe, to avoid uncontrolled algae growth. Additionally, a pH test kit monitors acidity or alkalinity in the water, as rapid pH changes can shock fish.
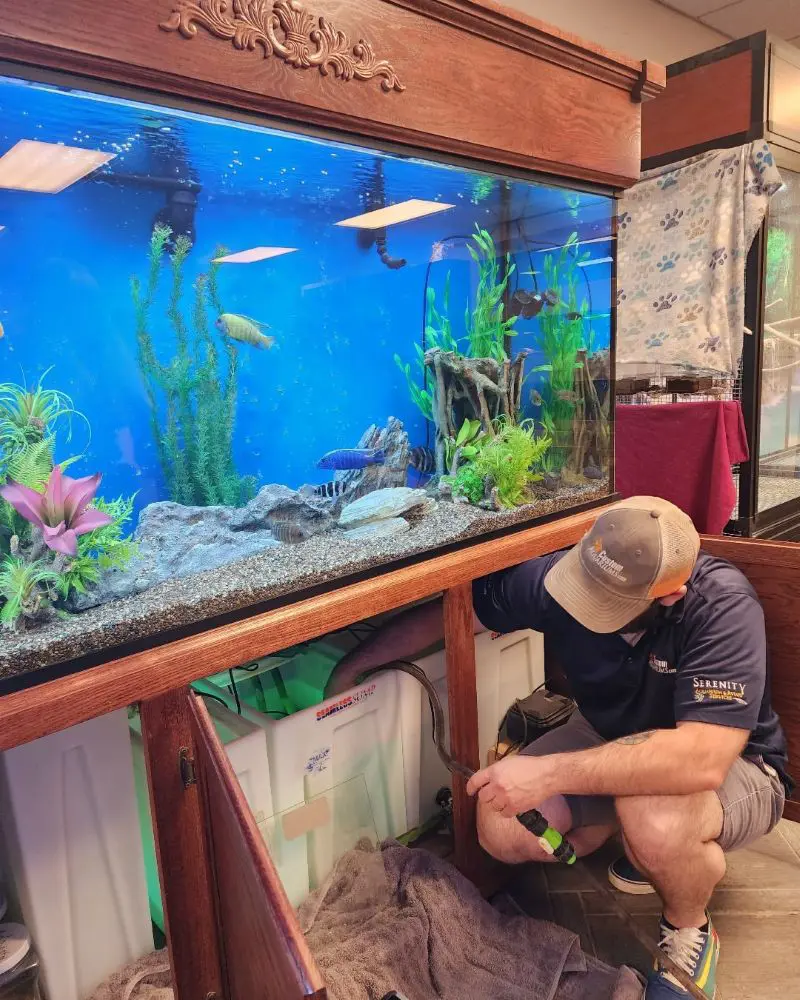
2. Turn off Equipment

Fish tanks use up a lot of electrical components, be it for heating, lighting, or filtering. However, when cleaning the tank, it's crucial to turn off these electrical appliances, even if the fish is not removed.
Apart from shocking the fish or humans, the electrical equipment can also malfunction or suffer damage. For instance, aquarium heaters are designed to operate fully underwater; leaving them exposed to air can cause the device to overheat or crack.
Besides, turning off the filter and pumps is also equally important. Leaving these devices on while cleaning or performing a water change can damage the motor by forming airlocks. At the same time, the suction from filters or pumps can accidentally trap fish, debris, or decorations during cleaning.
3. Remove Algae
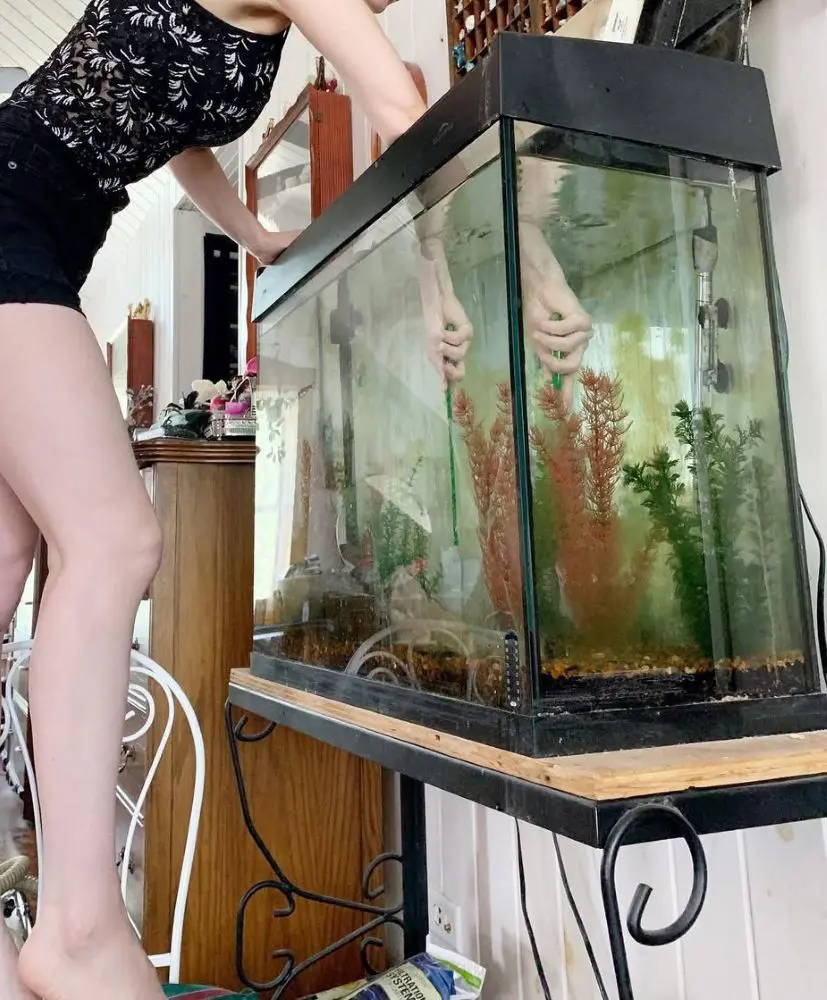
Using the algae scrubber, gently remove the algae buildup from the tank. With slow but even motions, scrub the glass to loosen algae buildup. Meanwhile, don't use household sponges or tools, as they may contain chemicals harmful to fish.
When using an algae scrubber, always proceed cautiously as a single mistake can harm your beloved pets or scratch the tank. For glass tanks, a rougher scrubber works well, but for acrylic tanks, choose a non-abrasive scrubber.
Also, move the scrubber slowly to avoid startling fish; sudden movements can stress them. Keep an eye on curious fish that might approach the scrubber, and take care not to accidentally trap them between the scrubber and the glass.
4. Vacuum the Gravel
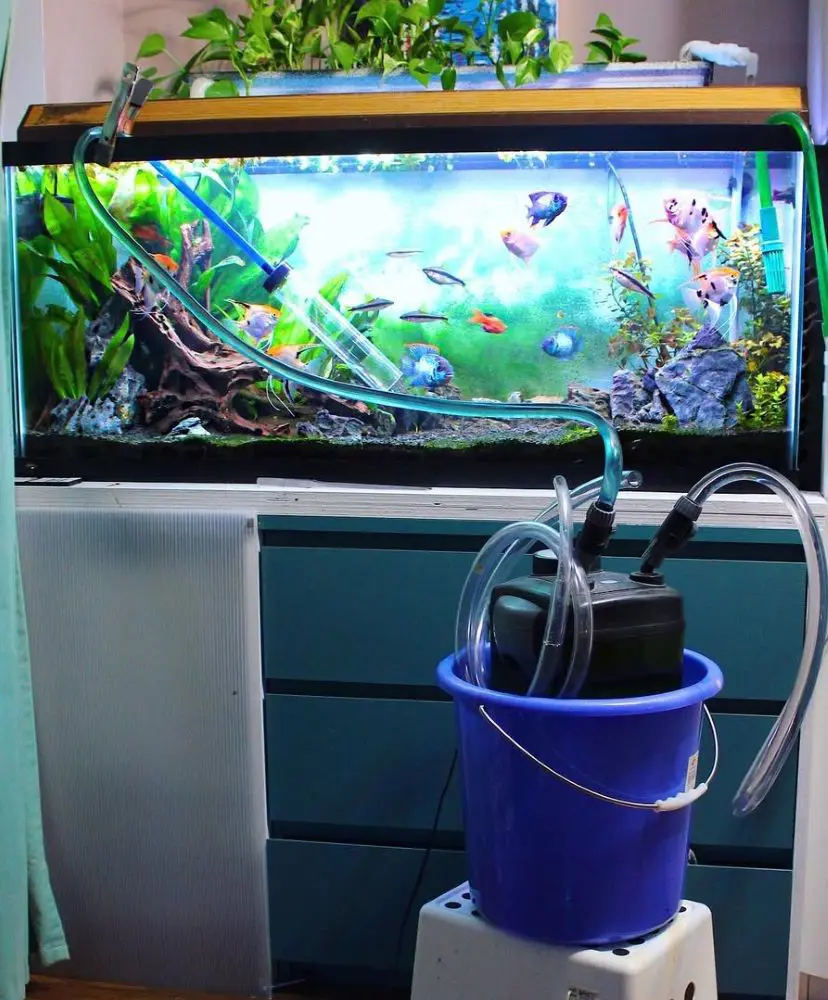
Vacuuming the substrate is a crucial step in the tank cleaning process. Using the gravel vacuum, remove debris and uneaten food that can decline the water quality. While submerging the vacuum tube into the gravel, place one end of the hose into a bucket.
To operate the device efficiently, shake the tube up and down underwater or use the built-in priming feature. Also, you should work in small sections of the gravel at one time, pushing the tube into the substrate and lifting it to release trapped debris. But, be mindful of fish that may swim near the vacuum or get too close out of curiosity.
5. Perform a Partial Water Change
Before removing water from the tank, prepare the replacement water by treating it with a dechlorinator. At this point, the filter and heater should be turned off to avoid any damage.
Similarly, as you use the gravel vacuum to remove debris, also extract 20-25% of water from the tank. However, make sure that you are not drastically changing the water parameter by over-siphoning.
When performing a water change, always follow a clear schedule. Based on the fish population in your tank and the amount of waste they generate, your tank might require water change every week or every two weeks.
Similarly, don't remove all the water in one session. Changing 20-25% of the water at a time is enough, as it keeps the water clean while also preventing sudden shifts in water chemistry.
6. Clean Decorations
So, you are tasked with cleaning the tank's decorations when the fish are still inside. Although it looks like a challenge, the process is pretty straightforward - remove any visible debris or algae buildup on the decorations with a soft brush or sponge. If algae buildup is stubborn, you can use an algae remover that’s safe for fish.
Even if the fish are inside the tank, you don't necessarily need to remove the decorations; however extra caution must be applied during the cleaning process. For larger decorations, you can clean them without taking them out. Simply, scrub them with the aquarium water to avoid exposing the decor to air, which can harm beneficial bacteria.
7. Wipe Down the Exterior
With the help of a microfiber cloth or a soft sponge, wipe the exterior part of the tank; this helps remove dust, fingerprints, and watermarks without scratching the tank.
When cleaning a glass tank, you can use a small amount of vinegar diluted with water to remove hard water stains. On the other hand, for acrylic tanks, avoid using abrasive cleaners due to their tendency to scratch the surface.
Instead, you can use an acrylic cleaner, particularly designed for tank cleaning. These cleaners are non-toxic and formulated to clean without damaging the acrylic.
8. Restart Equipment
Restarting the electrical appliances after cleaning is a delicate move, so this step needs extra attention to avoid causing harm to fish while also protecting the tools from damage.
Firstly, check whether the water has reached an appropriate level or not. This is crucial for keeping the heater or filter from running dry; both the filter and heater need to be fully submerged to operate properly. At the same time, check that the filter media is clean and efficiently placed.
Next, test the water temperature to see if it requires heating. If you’ve added fresh water, always match it with the tank’s current temperature to avoid shocking the fish. Use a thermometer to detect any sudden temperature changes.
Once these checks are complete, turn on the equipment gradually and observe its function for any irregularities.
9. Test the Water

After wrapping up the cleaning process and successfully turning on the electrical equipment, you should now test the water to determine if it is safe for a fish habitat.
As discussed above, the ammonia levels along with the levels of nitrite and nitrate can be analyzed to understand the water quality. High ammonia levels, which can build up if fish waste is disturbed, are potentially lethal to aquatic pets.
Additionally, don't forget to test the pH of your water. Sudden shifts in pH can stress fish, so make sure it’s within the appropriate range for your species.
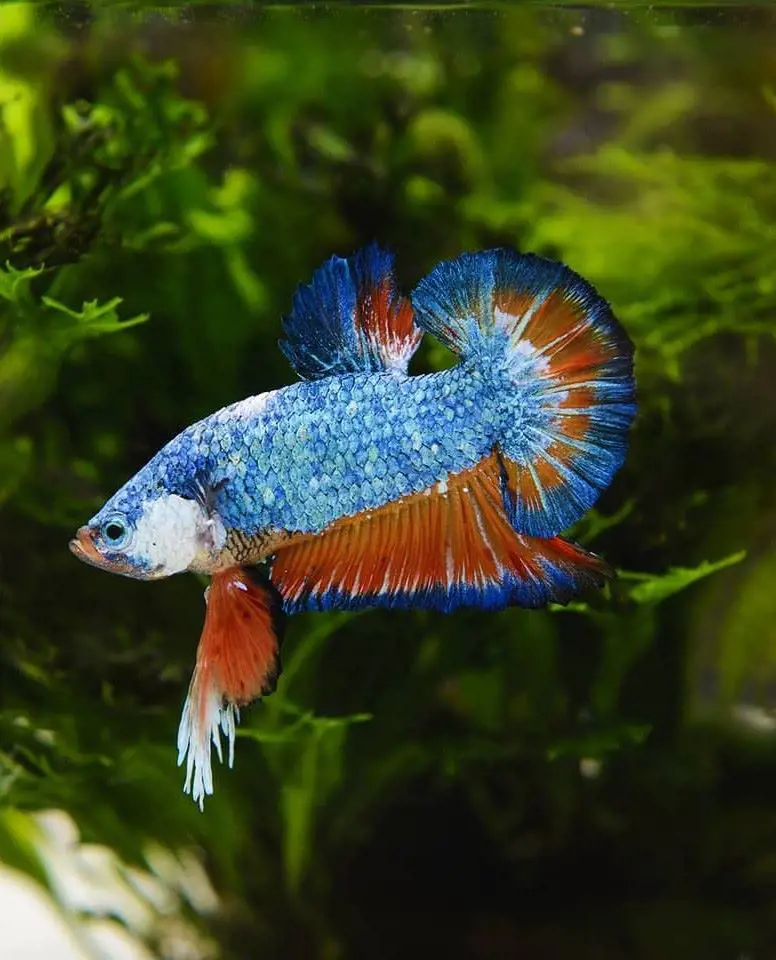
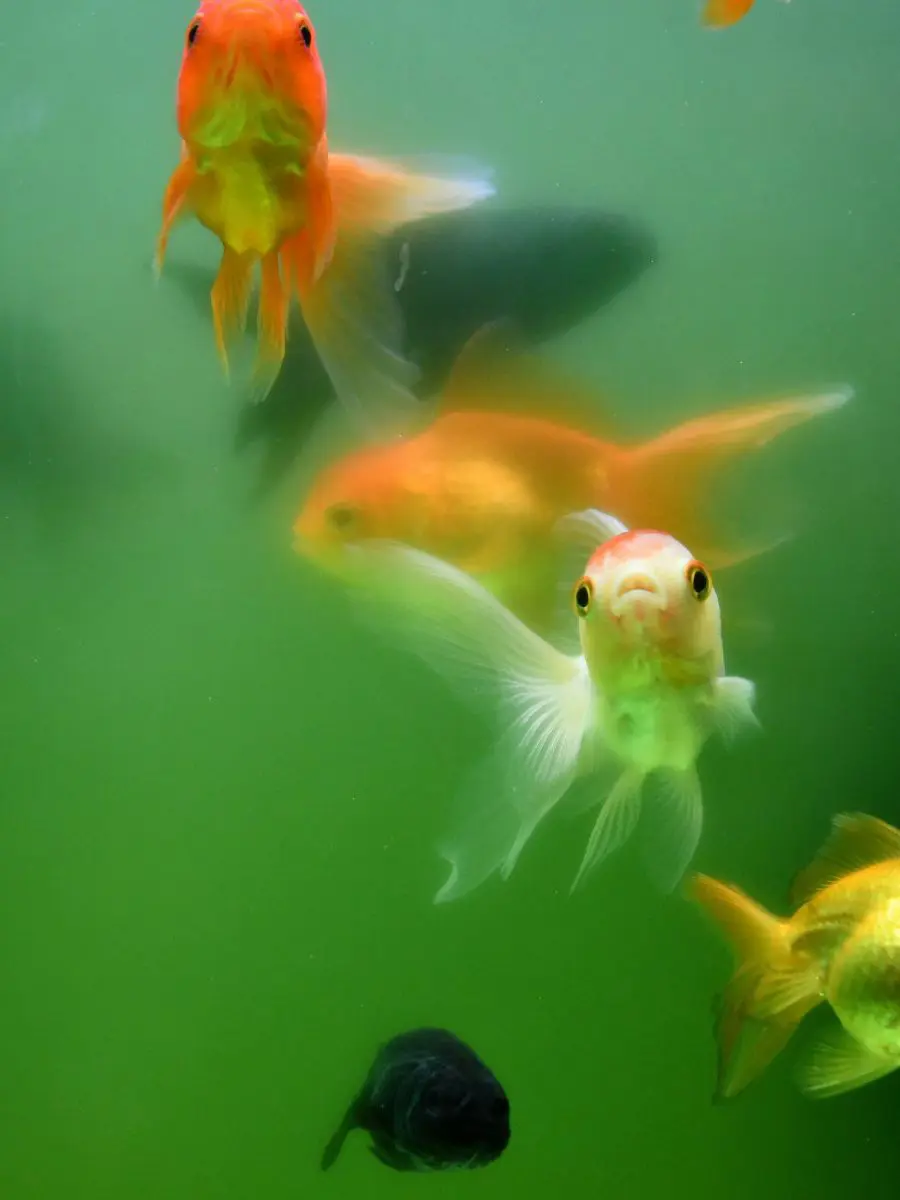
10. Monitor the Fish
The complex process of cleansing a tank becomes useless if the fish can't adapt to the new environment. One of the first signs of a problem is abnormal behavior, often characterized by the fish swimming erratically, staying near the surface, or hiding behind the decorations.
Similarly, you can also analyze their breathing patterns to check if the fish are adapting well. For instance, a fish gasping for air at the surface could indicate water quality issues or reduced oxygen levels.
On the other hand, if everything is normal, the fish will eat regularly and follow the behavior it showed before cleaning.