Starting the process of cleaning your dog's ears at home is not just a task; it is a personal gesture of affection that strengthens your bond with your companion. Imagine this as a spa day for your pup's ears, where the right tools and products become instruments in a symphony of well-being.
As you dive into the process, it is not just about hygiene but also about trust-building and a shared experience that speaks volumes in the language of wagging tails and grateful woofs.
So, grab your canine confidant, and let's explore the world of home ear care to ensure your furry friend's ears are in good condition.
Choosing The Right Products
When it comes to the well-being of our canine companions, choosing the right products and supplies for cleaning their ears is crucial. A plethora of options exist, from veterinarian-recommended ear-cleaning solutions available at pet stores to homemade concoctions crafted with care.
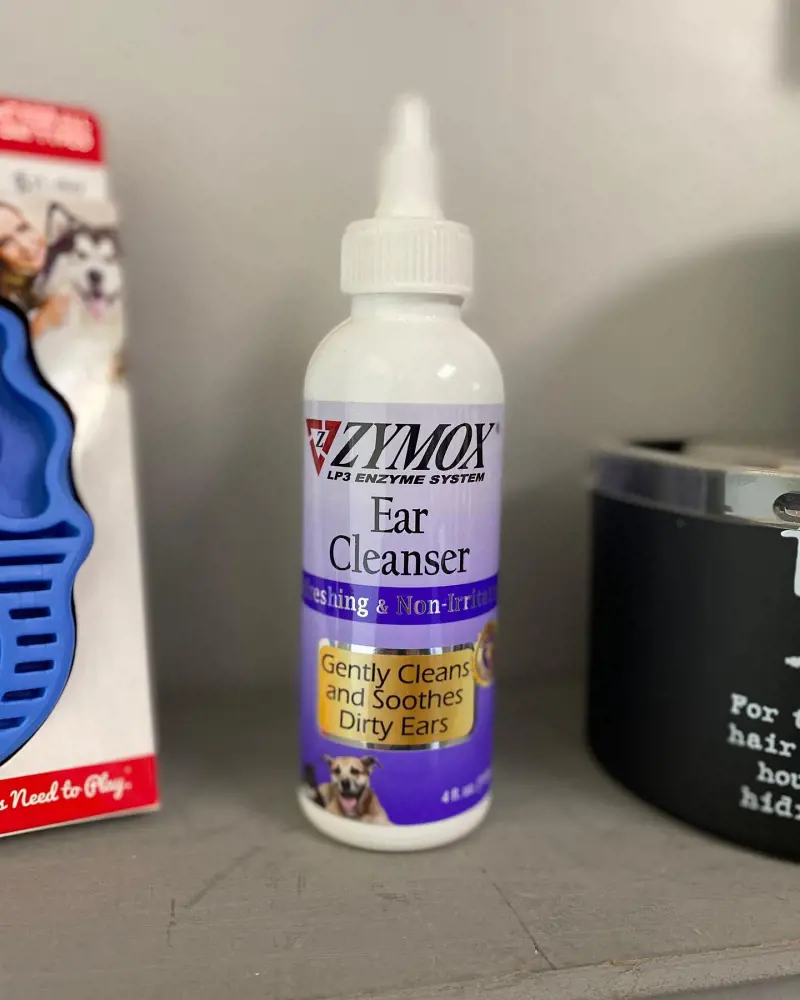
For the cleaning solution, you can use normal saline since it is extremely safe. This includes items such as Virbac's Epi-Otic Ear Cleaner which has a pH of 7.6 and is suitable for routine ear cleaning in dogs. Other popular, safe choices include Zymox cleanser with bio-active enzymes and these ear wipes.
1. Gather Your Supplies
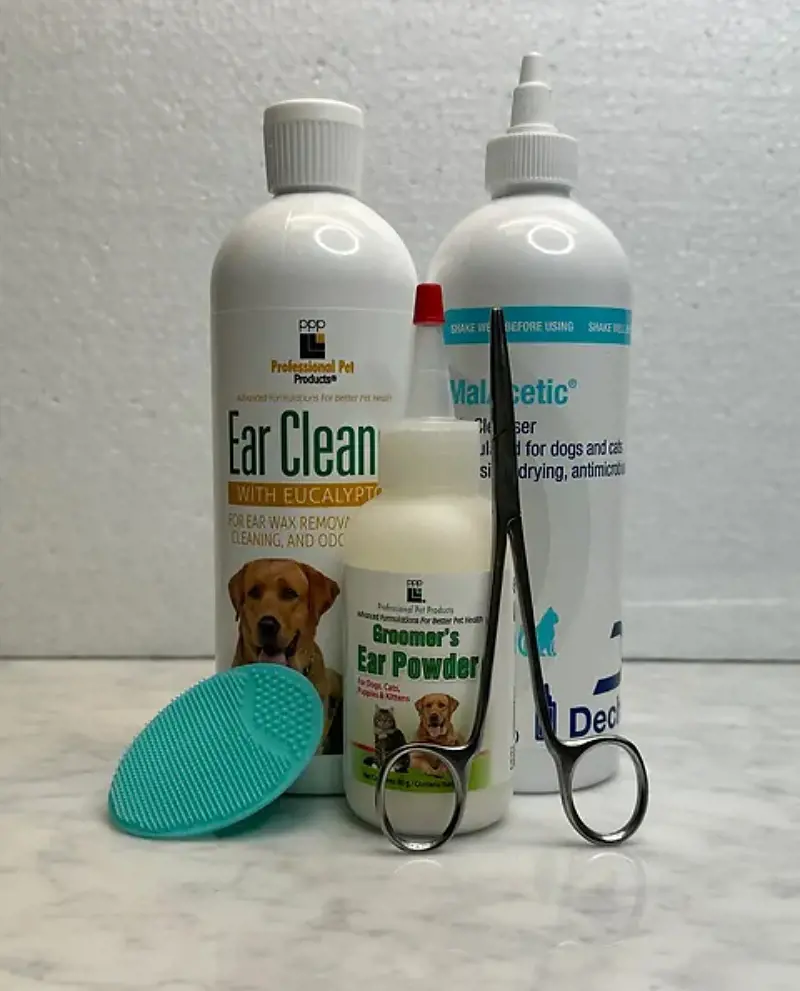
You have to gather the necessary supplies at first like dog ear cleaning solution, cotton balls or pads, and treats for positive reinforcement to begin the cleaning session of your dog's ears in the comfort of your home. First of all, choose a vet-recommended solution to dissolve earwax and prevent infections.
Cotton balls or pads are ideal for wiping the outer ear and absorbing excess solution. you can use a leash or restraint to keep your pup in check during the process for a stress-free experience and keep treats for positive reinforcement. A towel comes in handy to clean up any spills or mess during the ear-cleaning adventure.
2. Make The Dog Feel Comfortable
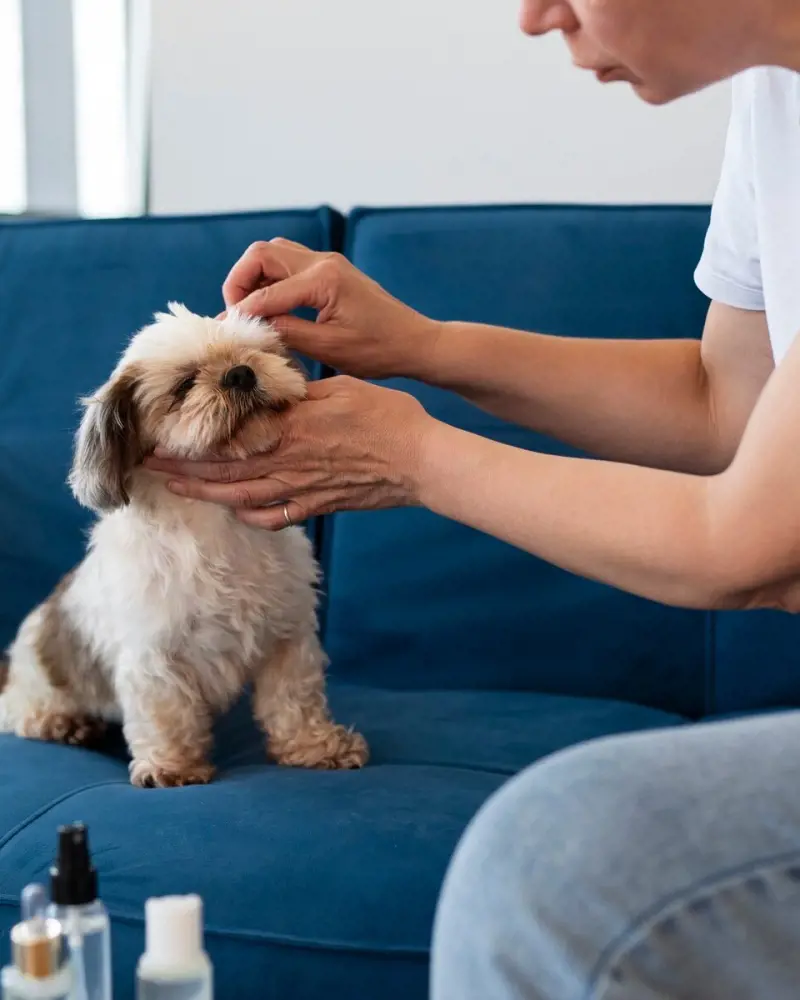
After you have gathered all the necessary supplies, the next step of dog grooming is to ensure that your furry friend feels at ease during the ear-cleaning session. You must create a calm environment and let your pup sniff and inspect the tools you will be using to establish a sense of familiarity.
Gradually introduce the ear cleaner by placing a small amount on your finger and letting them smell it and maintain a soothing tone while cleaning. Making this practice enjoyable and bonding for your dog can help them identify ear-washing with love and care. Patience is the key in this situation.
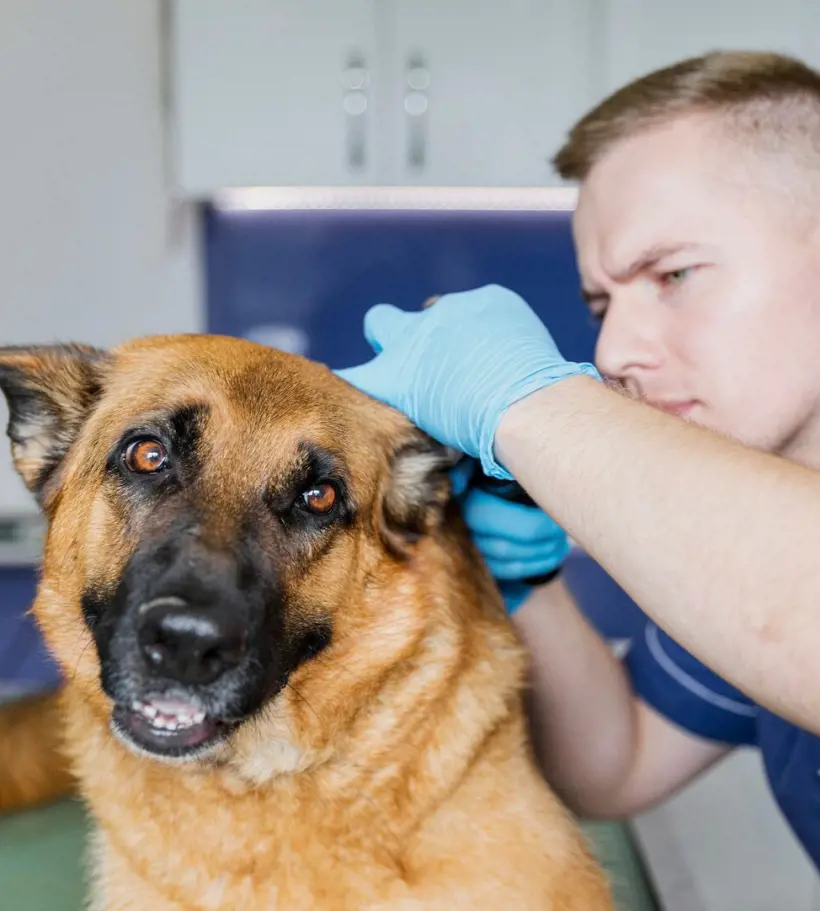
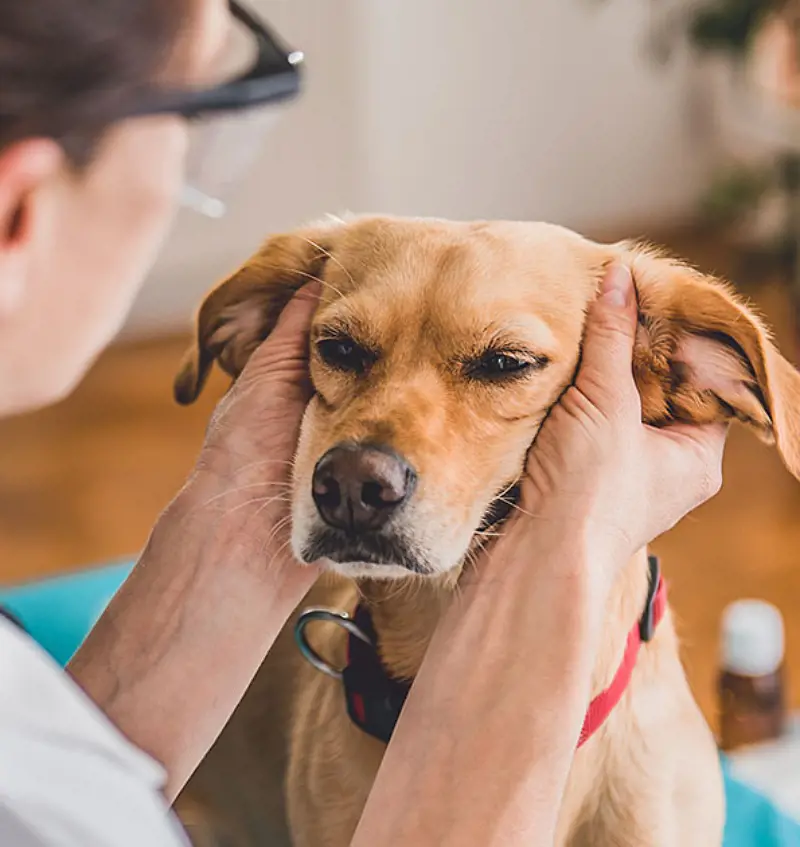
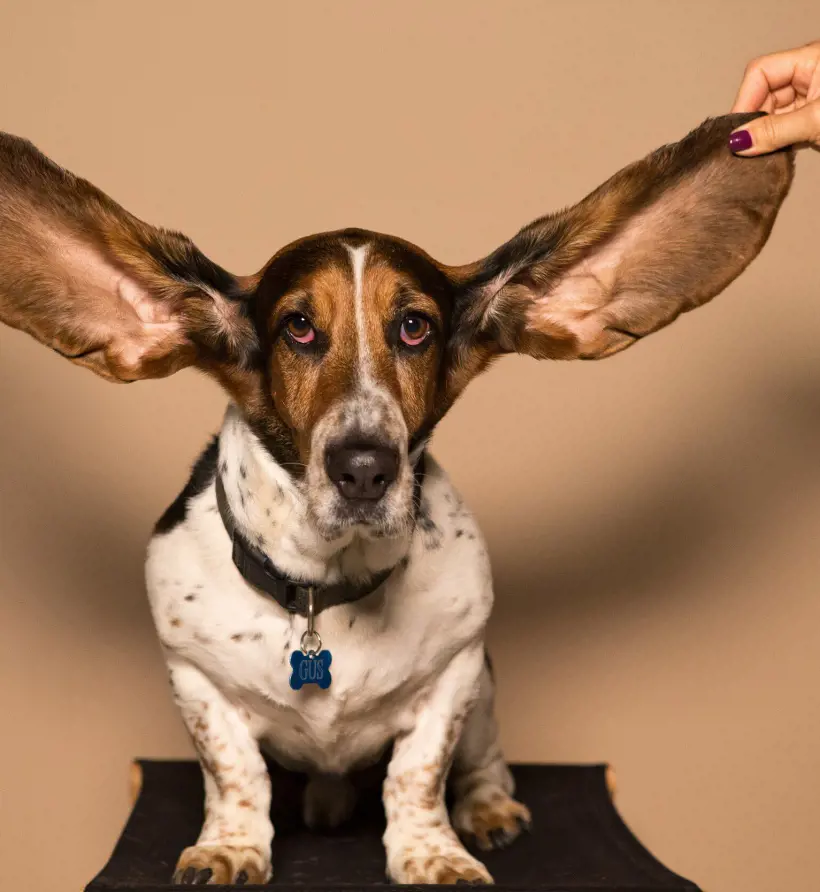
3. Inspect The Ears
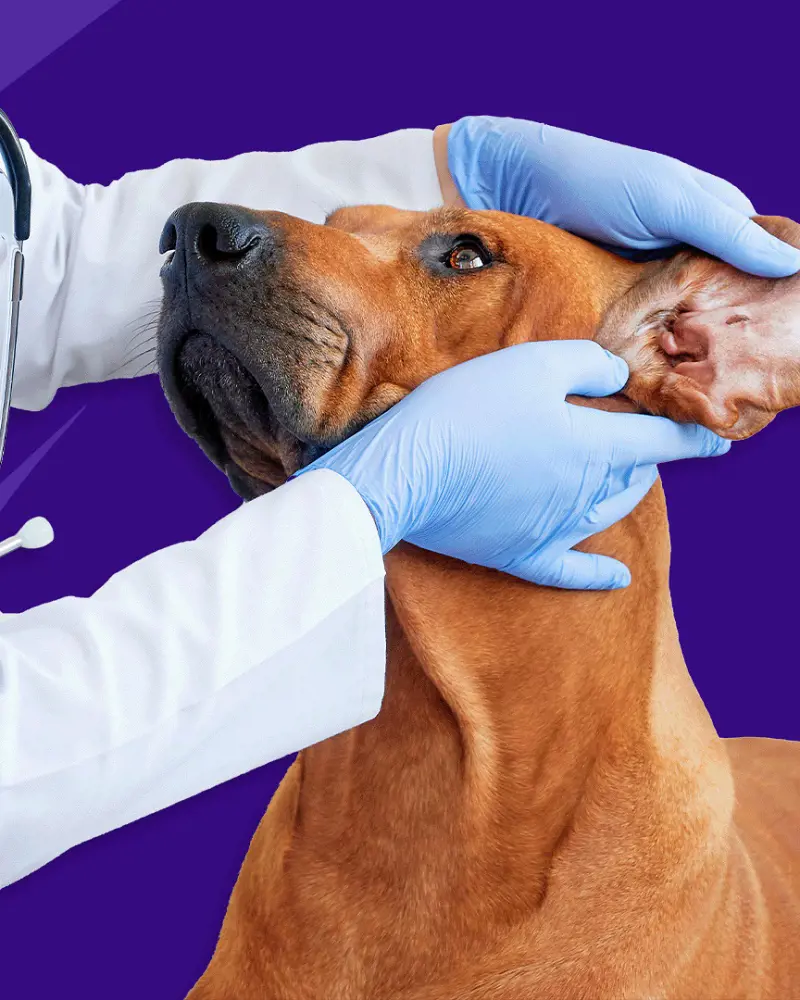
This is an important step in this cleaning session. So, start by gently inspecting both ears for any signs of redness, swelling, or unusual discharge. Use a well-lit area, and make sure you are in a quiet space to avoid startling your dog.
you have to begin with a gentle massage around the ears to relax your furry friend, lift the ear flap, observe the inner ear, and look out for dirt, wax buildup, or foreign objects. When using tools, like a vet-approved ear cleaner or cotton balls, be cautious not to insert them too deeply, as this can damage the sensitive ear canal.
4. Moisten Cotton Ball In The Solution
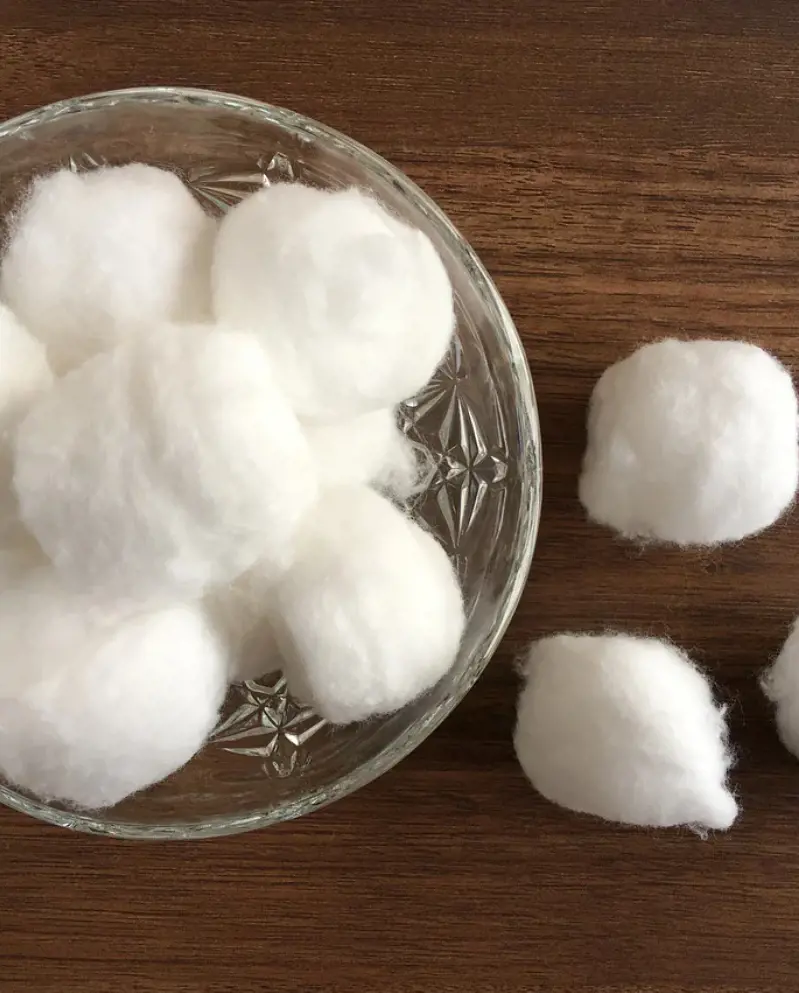
Take a fresh and clean cotton ball and moisten it in the right ear-cleaning solution. Begin by choosing a vet-recommended, alcohol-free solution, as alcohol can irritate the sensitive ear canal.
Pour a small amount onto a cotton ball just enough to moisten it without it dripping, gently lift your dog's ear flap and carefully insert the cotton ball to clean the inner parts. Use a circular motion to clean the visible areas. Do not use cotton swabs as they can push debris further and harm the ear canal.
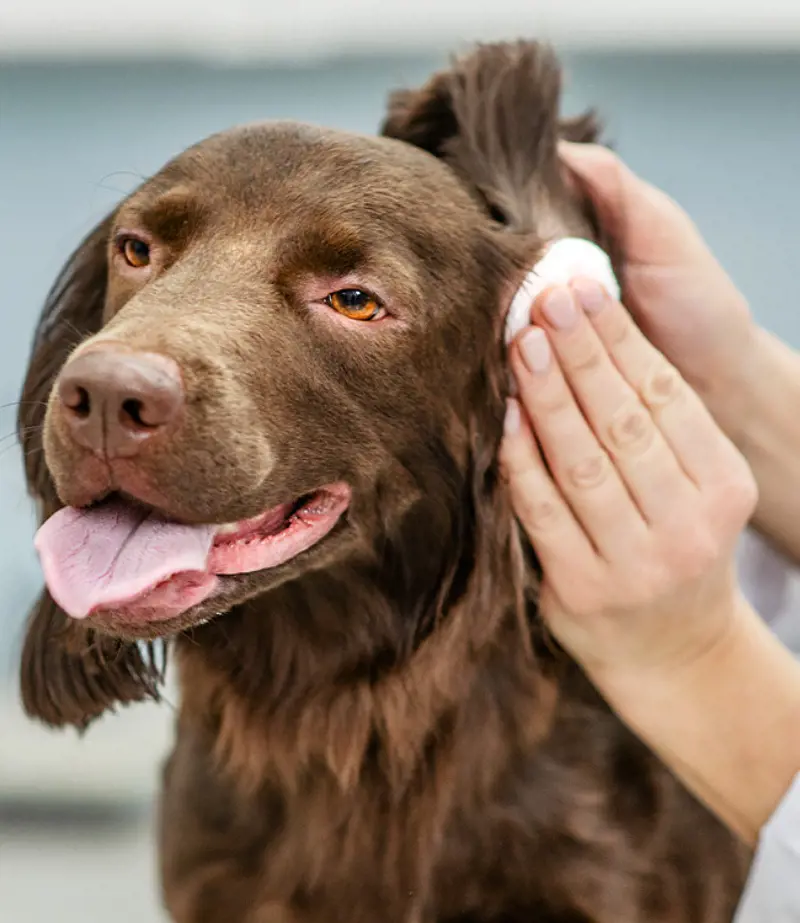
5. Gently Wipe The Ears
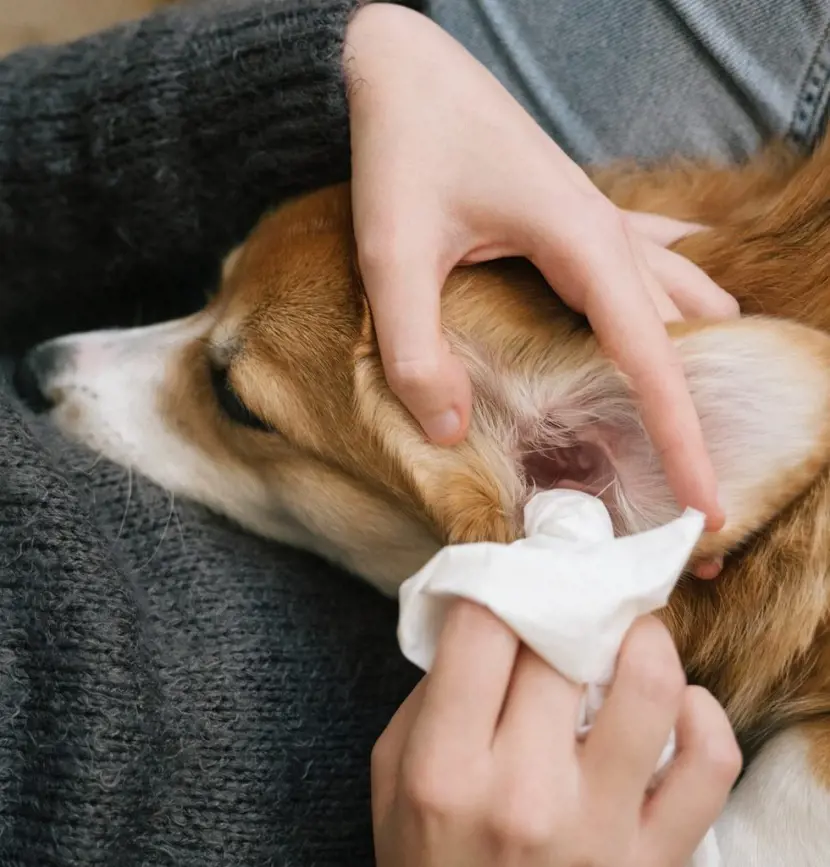
You have to continue cleaning the visible parts of the ear canal of your canine friend with the moistened cotton ball. You must be attentive to the folds and crevices, ensuring you reach all areas without causing discomfort.
Use a gentle, circular motion to lift away any remaining debris or residue but if you encounter stubborn dirt, refrain from applying excessive force. Keep a watchful eye on your dog's body language and if it appears uneasy, take a break and offer reassurance.
6. Lift And Hold Ear Flap
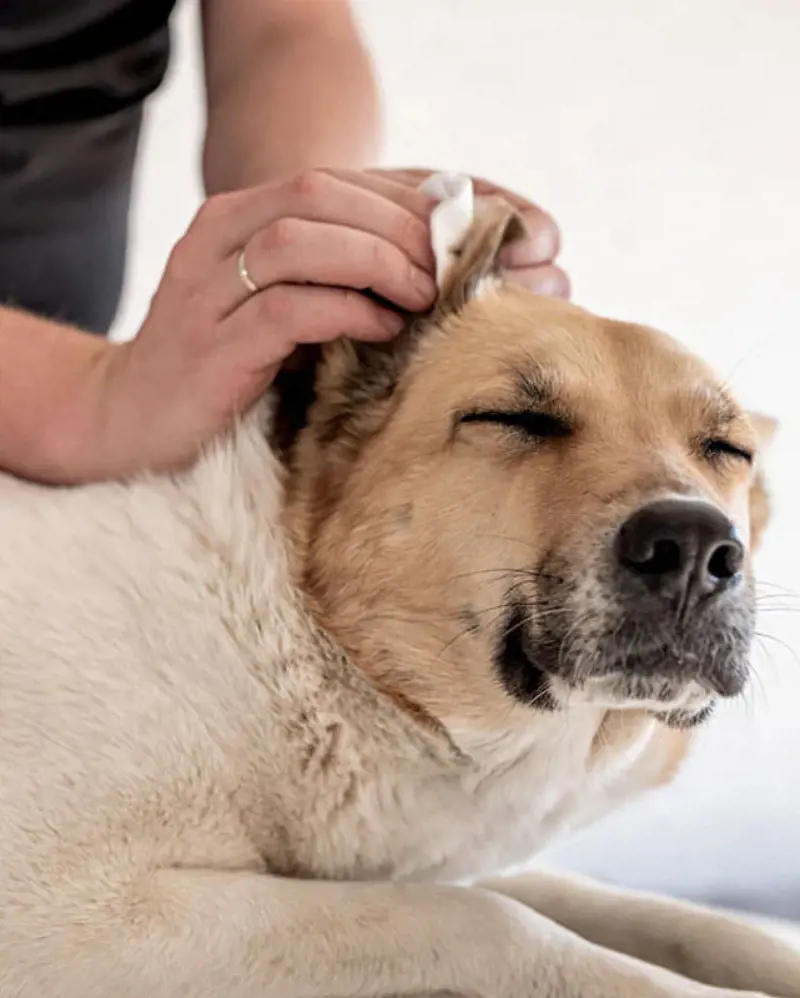
Lifting and holding the ear flaps is a crucial step in ensuring a thorough cleaning process. You can start by gently lifting one ear flap, exposing the ear canal, and holding it steady but be careful of your dog's comfort.
This not only allows better visibility for cleaning but also prevents the solution from dripping out too soon. As you work on one ear, keep a watchful eye on your dog's reactions and always keep in mind that the key here is to be gentle and patient.
7. Clean The Ear Canal With The Soaked Cotton Ball
Precision is paramount when cleaning the ear canal with the soaked cotton ball so gently insert the moistened cotton ball into the ear canal. The goal is to absorb any debris or wax accumulated within the visible area of the canal so beware not to go too deep.
You have to maintain a calm and reassuring demeanor during the whole session and use a circular motion to delicately clean that ensures thoroughness without causing discomfort. Completing this step with care contributes to your dog's ear health and fosters a trusting bond between you and your canine companion.
8. Gently Massage The Ear
Gently massage its ears after the ear-cleaning routine to give a pampering touch to your pup for complying through the whole process. Proceed to massage the base of your dog's ears with a gentle touch and use your fingertips to create small circular motions.
A gentle massage of the ears promotes relaxation, enhancing blood circulation, and also helps in distributing any remaining cleaning solution and soothes the ear tissues. If your dog seems particularly fond of the massage, extend the session for extra bonding and finish with treats and praise.
9. Allow The Pup To Shake Its Head
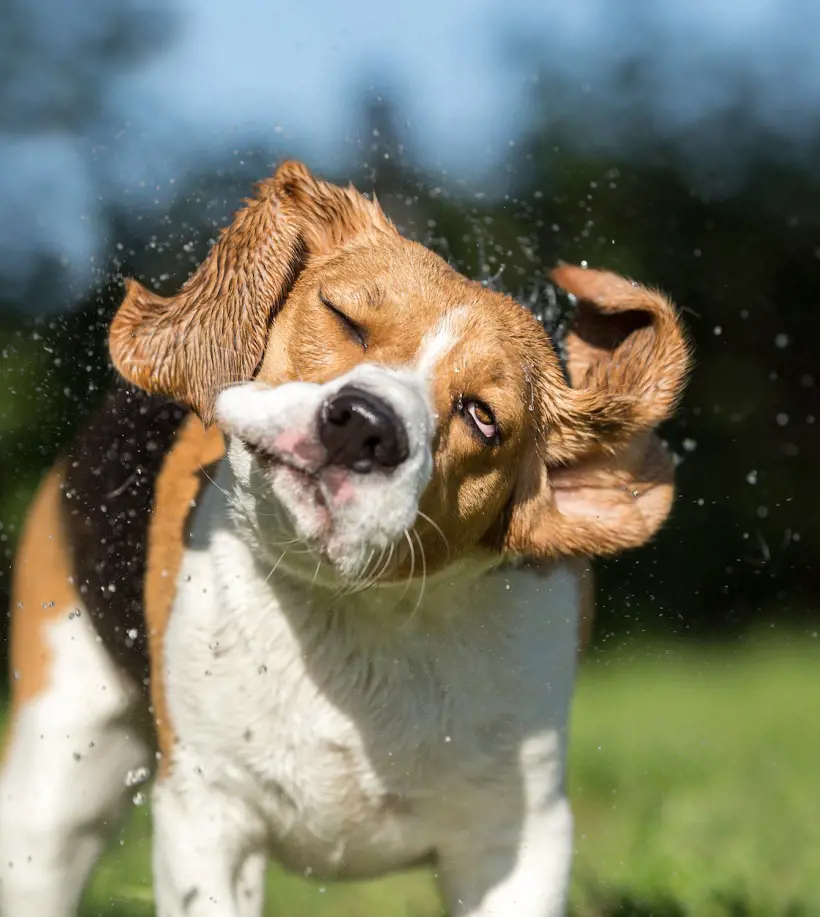
After the ear-cleaning process, it is essential to allow your pup to shake its head so step back a bit to give your dog the needed space. This natural behavior helps expel any remaining moisture or debris from the ear canal and helps your pup feel comfortable.
You must embrace the inevitable shake with a smile, and perhaps a playful comment on their impressive head-shaking skills. This moment not only completes the ear-cleaning routine but also adds a touch of humor and spontaneity to the entire process.
10. Use Cotton Ball To Wipe Remaining Debris
After your pup's celebratory head shake, the next step involves using a fresh cotton ball to delicately wipe away any remaining debris. Gently lift the ear flap, exposing the areas you may have missed during the initial cleaning.
You have to swipe the cotton ball across the visible parts of the ear with a soft touch, which helps to capture any lingering dirt or moisture. This step not only adds a final touch to the cleaning process but also serves as a moment of meticulous care.
Things To Avoid While Cleaning Your Dog's Ears
When it comes to the delicate task of cleaning your dog's ears at home, a cautious approach is key to ensuring their comfort. Stepping into this canine care routine demands a vigilant eye and a gentle touch, but equally important is knowing what to steer clear of during the process.
Avoiding certain pitfalls can make the experience smoother for both you and your furry companion. From eschewing the use of Q-tips to resisting the temptation of harsh cleaning agents, here are some precautions you need to take.
- Avoid using Q-tips, as they can push debris deeper into the ear canal.
- Never insert anything deep into the ear canal, stick to cleaning the outer ear.
- Avoid harsh substances like alcohol or peroxide, as they can irritate the delicate ear tissues.
- If your dog becomes anxious or distressed, stop the cleaning and consult a vet.
- If you are uncertain or notice signs of infection, consult your veterinarian instead of attempting at-home cleaning.